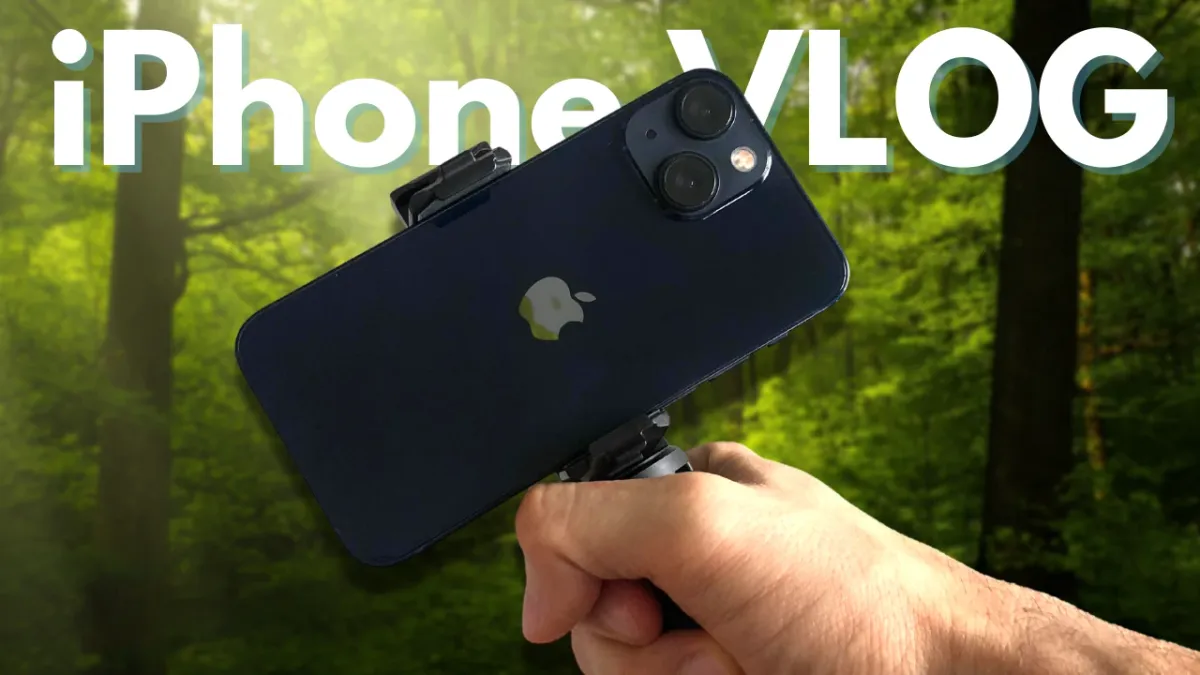
My iPhone Vlogging Setup - Simple and Easy for Beginners
The whole point of using an iPhone is to keep it simple. So in this short guide, I'll share with you my light, easy to use setup.

So the time has come to retire my Sony X3000. It had a good run and I salute you 🫡.
I made a few thousand dollars off this little camera but let's be honest, it's time to move on.
So I've previously written about how I've tried numerous video content creation styles with mixed results:

Everything from vlogging, to talking head shots to topical videos. I've now decided I'm going to make topical videos related to expat life and living abroad and for that, using my iPhone is perfect.
So here is my simple iPhone vlogging setup that really works:
- Wireless mic.
- Cheap little tripod/grip.
- Blackmagic camera app.
- Wide angle lens on the iPhone.
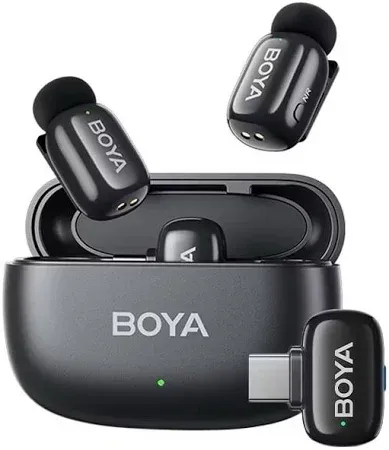
Boya Mini wireless mic - Essential
You need a wireless microphone, not want, NEED. The iPhone's audio is alright if you're in a car, but if you're out and about then you'll want a mic to improve the audio quality.
The Boya Mini provides two small mics, both a lighting and USB type C receiver and costs around $40-50 depending on if you get both adapters or just the type C adapter.
As I'm using an iPhone 13 Mini still, I needed to get the version with both adapters.
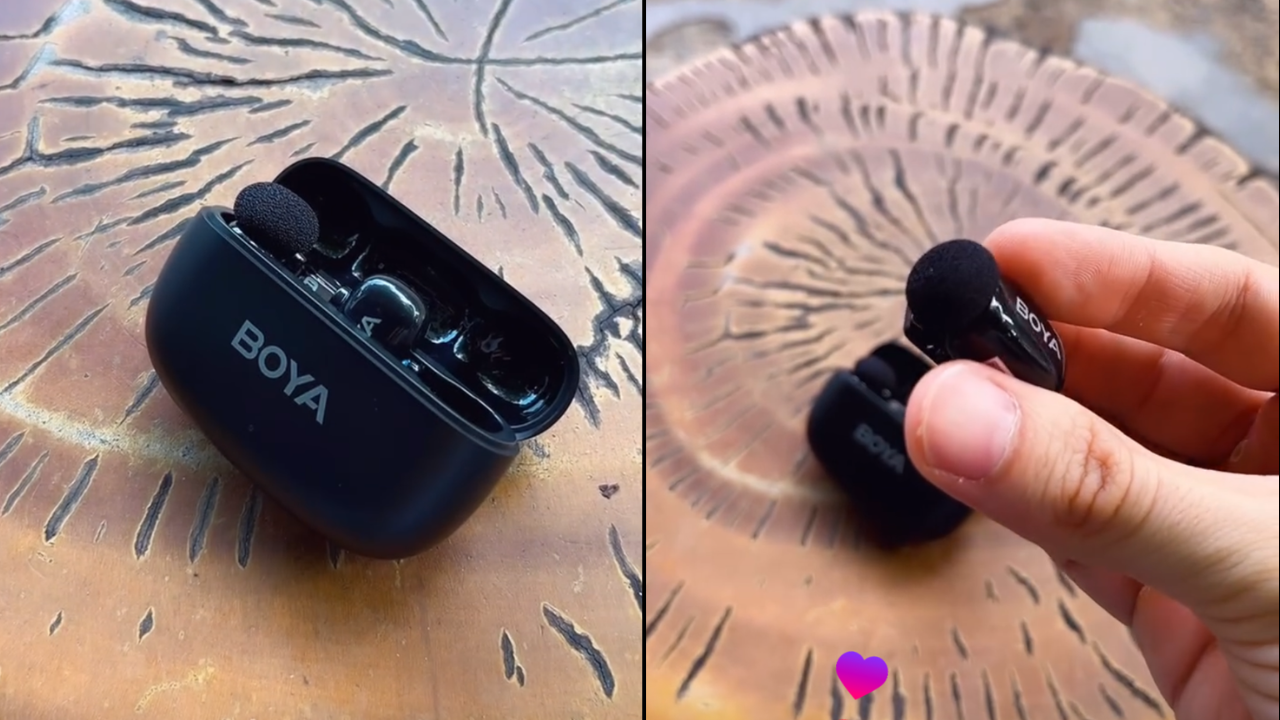
All you have to do is plug the receiver into the iPhone, press and hold the button on the mic to pair and done, it's connected. The mic works best if you hold it away from you a bit, about one foot for optimal audio.
You can also use both mics at the same time, perfect if you're trying to do an interview of some sort.
For the full review go here:
Example at a super loud morning cafe in Vietnam:
It's cheap, small and pairs perfectly with an iPhone, iPad and can even be plugged into your laptop.
Anozer Mini tripod - The perfect handle for the iPhone
This little tripod is a perfect grip/handle for iPhone vlogging. It's small, light weight, costs next to nothing and makes vlogging with an iPhone much easier.
Anozer Mini Tripod
Small, minimalist tripod that is the perfect grip for your iPhone. Holds the phone both horizontal and vertical.
If you're wanting to do "walk and talk" style vlogging then you'll love this cheap little tripod.
The Boya clips on to this tripod too
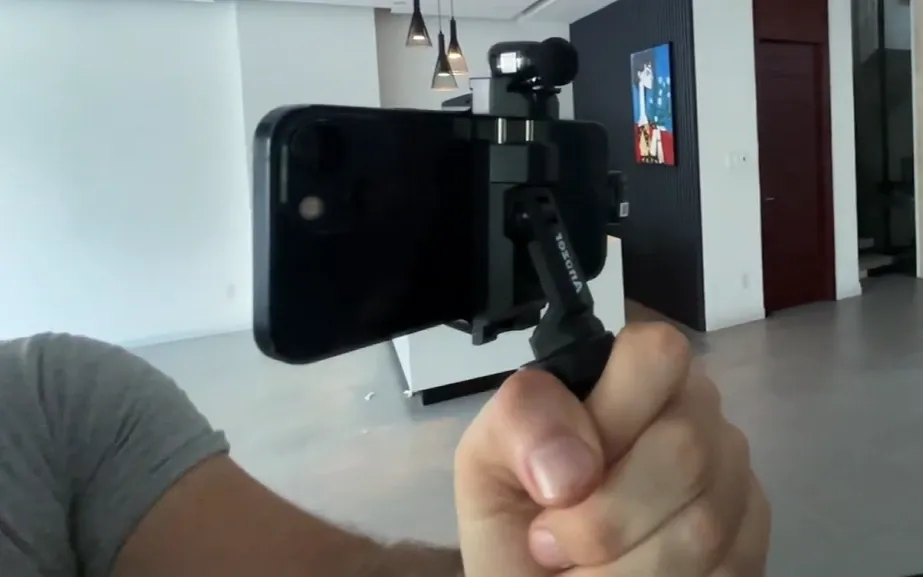
Another surprising little benefit of this cheap little tripod is that my Boya Mini clips onto the top of the trip so I don't have to have the mic attached to my shirt.
Not saying that looks bad, but I prefer having no visible mic when on camera. Also, because the mic is mounted on top pointing towards me, the audio quality sounds excellent.
Blackmagic camera app - Essential for PC users
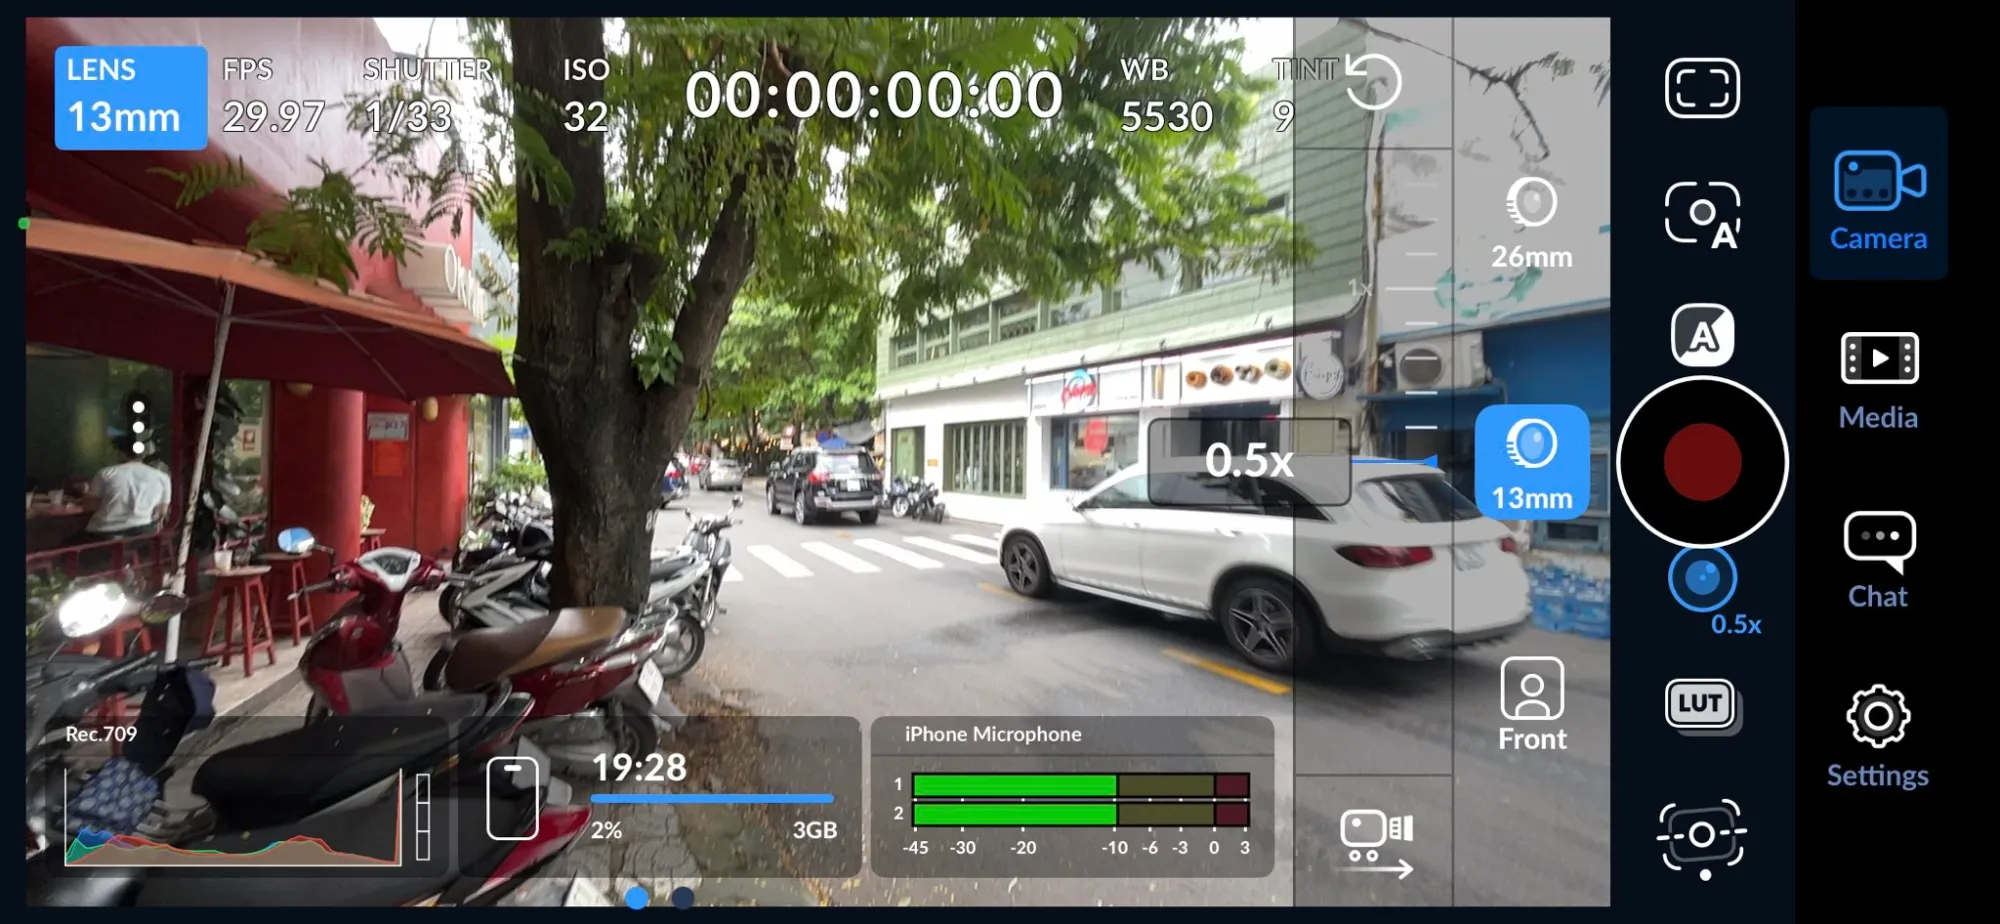
I'm super thankful to my friend Andrew for recommending me this app. It's a game changer for PC users because it records your clips in a different codec that is compatible with PC based video editors.
When using the native camera app on iPhone, whenever I moved the clips over to my PC to edit, the colors looked off - dull and flat. But on my iPhone everything looked great, so why did it look so bad on my PC?
Well that's because of the codec which this app fixes.
On top of that, this app also gives much more control over your frame rates, white balance so the video quality is better and the ability to upload LUTS. It also separates your clips in it's dedicated "media" bin.
So when you record, you're simply click on the "media" button and choose which clips to save to your photos on iPhone to edit later. This makes file management much easier.
Any iPhone with a wide angle lens
Last, I like to use my wide angle lens for walk and talk shots. The video quality is colorful and accurate. I also use the selfie camera for talking head shots too, but the wide angle lens is what I typically find myself using the most.
I bring this up because some iPhone models don't include a wide angle lens which for me is a deal breaker.
- Wide angle lens - Perfect for walk and walk style vlogging and narration.
- Selfie camera - Ideal if you want to sit in a chair and talk into the camera as it's attached to a tripod. The main camera I find to be a bit too tight on the face and way to sharp.
- Main camera - Excellent for b-roll footage.
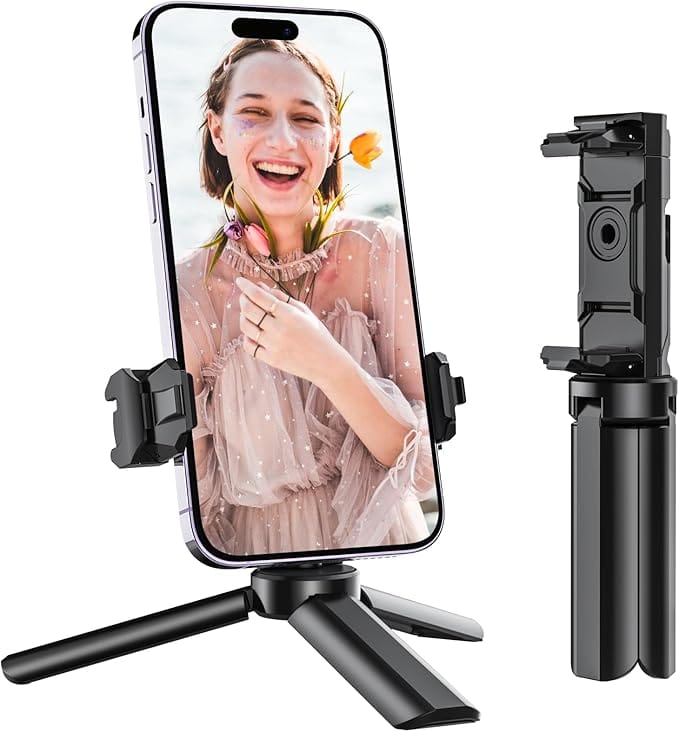
Optional - an iPhone tripod
Last, if you don't want to walk and talk and prefer to do a sit down, talking head video then you'll need a cheap, lightweight iPhone tripod.
This selfie stick tripod is what I use and it's great because the height of it is perfect for whenever I want to sit and talk into the camera.
"Can't I just use this instead of the other tripod?"
Sure! But I love how small the Anozer tripod and the fact that my mic clips onto it easily.
This selfie stick tripod is a bit more bulky and is better used as a tripod in my opinion. But if you want a selfie stick for whatever reason then you'll like this bigger, heavier tripod.
Again though, both tripods are under $20 so it's not a huge cost either way.
Conclusion
So that's it for my lightweight, easy to use iPhone setup.
It drives me crazy when I see big, overly complicated iPhone setups. Like, the whole point to using your iPhone is to keep things simple.
No, you don't need a cage with a big fluffy mic, lights, a massive tripod and an external monitor and storage for your phone, that's just silly.
So to recap:
Boya Mini - My wireless mic of choice
Anozer Mini - My tripod of choice for the iPhone.
Blackmagic camera app - Far superior when compared to the native camera app.
Wide angle lens on iPhone - Any iPhone with a wide angle lens will do.
Generic tripod (optional) - If you want to do sit down, talking head style content then you'll need a cheap, generic tripod to hold the iPhone.
That's it for now. Your man,
-David